Pose of the Month: Parsva Bakasana - Side Crow
By Becca Thomas Hi everyone! I’m excited to talk to you about this month’s pose, side crow (parsva bakasana). I’ll let you in on a little secret, when I first started practicing yoga, this was my Mount Everest. It was a pose that I really wanted to do but seemed so unattainable. I know we talk a lot about non-attachment in yoga, and keeping our eyes on our own mat, yadda yadda, yadda… but dang, seeing other students in this posture in class, was intimidating, inspiring and downright impressive. So does that make me a bad yogi if I want to do it? Heck no. We can dream of postures and work towards them, as long as we are doing them in a thoughtful and safe manner!If you’re into what I’m saying, keep reading and I’ll see you on the other side (crow). Benefits of Side Crow:So on DOYOUYOGA, they list a bunch of them. The benefits range from strengthening our arms and wrists to toning the abs. There’s a LOT of twist in this posture, so we’re wringing out the bad ish and honing our self-awareness through the balancing of the actual posture and inner work it takes.I would also throw in that it makes you look and feel like a million bucks, because this is definitely a fun thing to pull out when you’re at a party or bar on Saturday night. But I wouldn’t know that because I’ve definitely not done that before. #dontaskmyfriends #ormyhusband. Preparation for Side Crow:If you haven’t tried this posture before I would caution you to practice this under the supervision of a teacher (like me! Or others at Yoga Heights) if this is your first time because the prep work and different steps can overwhelming. A teacher could walk you through steps and also give pointers about your body or what may or may not work. That’s what we’re here for, right?You should warm up with a few Sun As and even some Sun Bs before diving head first into this arm balance. This is so we aren’t trying to twist ourselves into a posture that our body might not be ready for...plus it doesn’t feel all that great to just dive into it. This is where I tell you to listen to your breath and body. Is your breath short and shallow? Take deeper inhales and lengthen your exhales before moving onto the next part! Progression for Side Crow:Once you’re nice and warmed up you can get back into your chair pose (yea, I went there). Hang out here. Maybe enjoy it a bit :) Your weight will shift towards your heels in chair, and the shoulders move away from the ears. Pinkies can spin towards one another or you can bring the palms together to touch.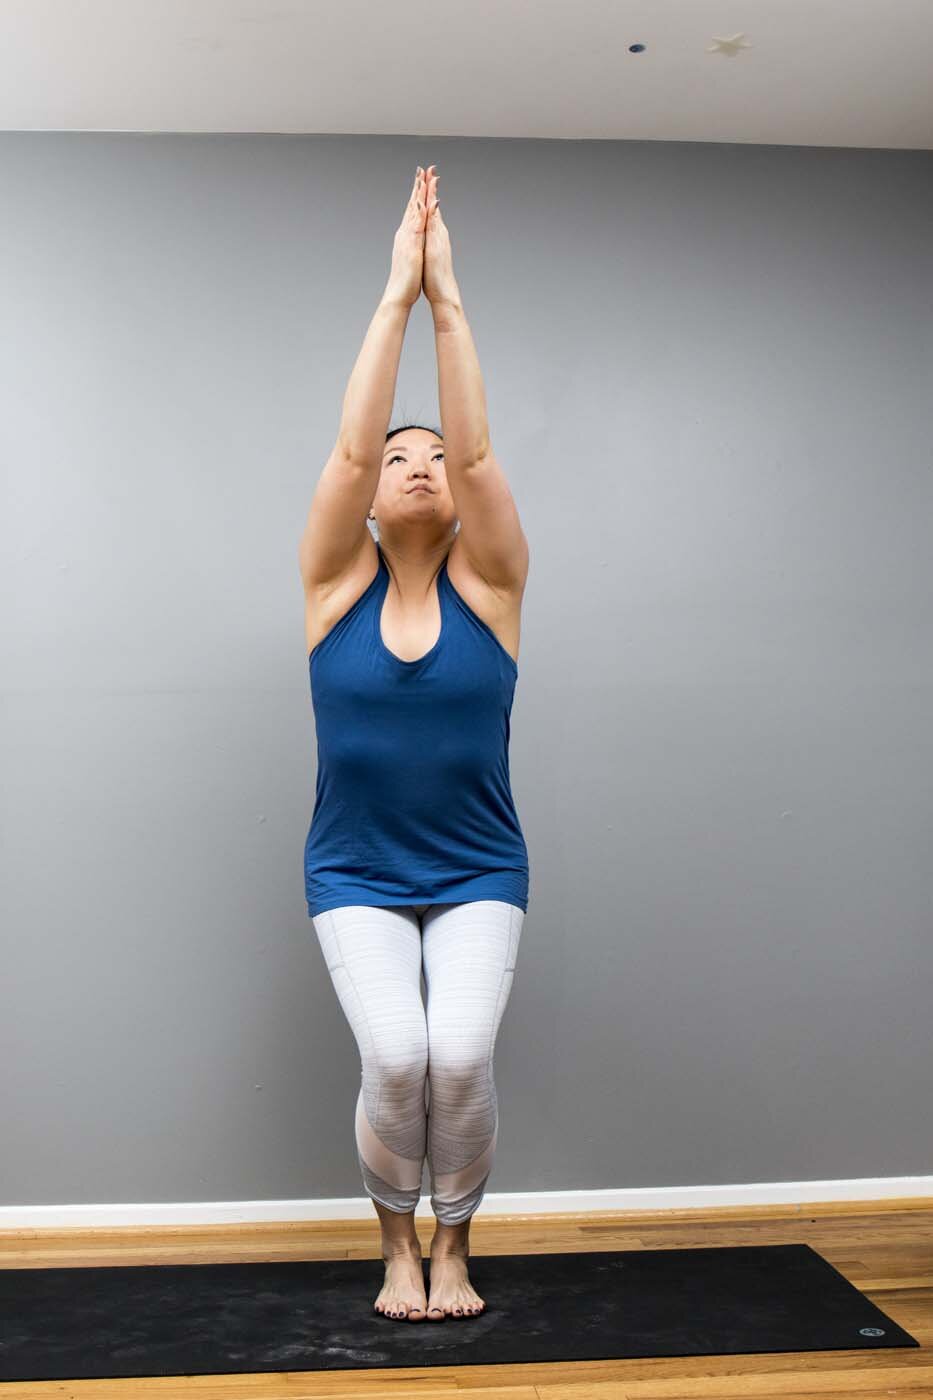 After you take 5-8 breaths in chair, we’re moving into revolved chair pose. Left elbow moves to your right knee - this one is a doozy, but by using the press of the palms, you can lift your heart towards your hands. Take a deep breath and on the exhale twist a little deeper. Gaze can move over your right shoulder during this time and you’ll probably need to get reminded to bring the knees in line with one another and sink the hips back into space. Feel the burn.
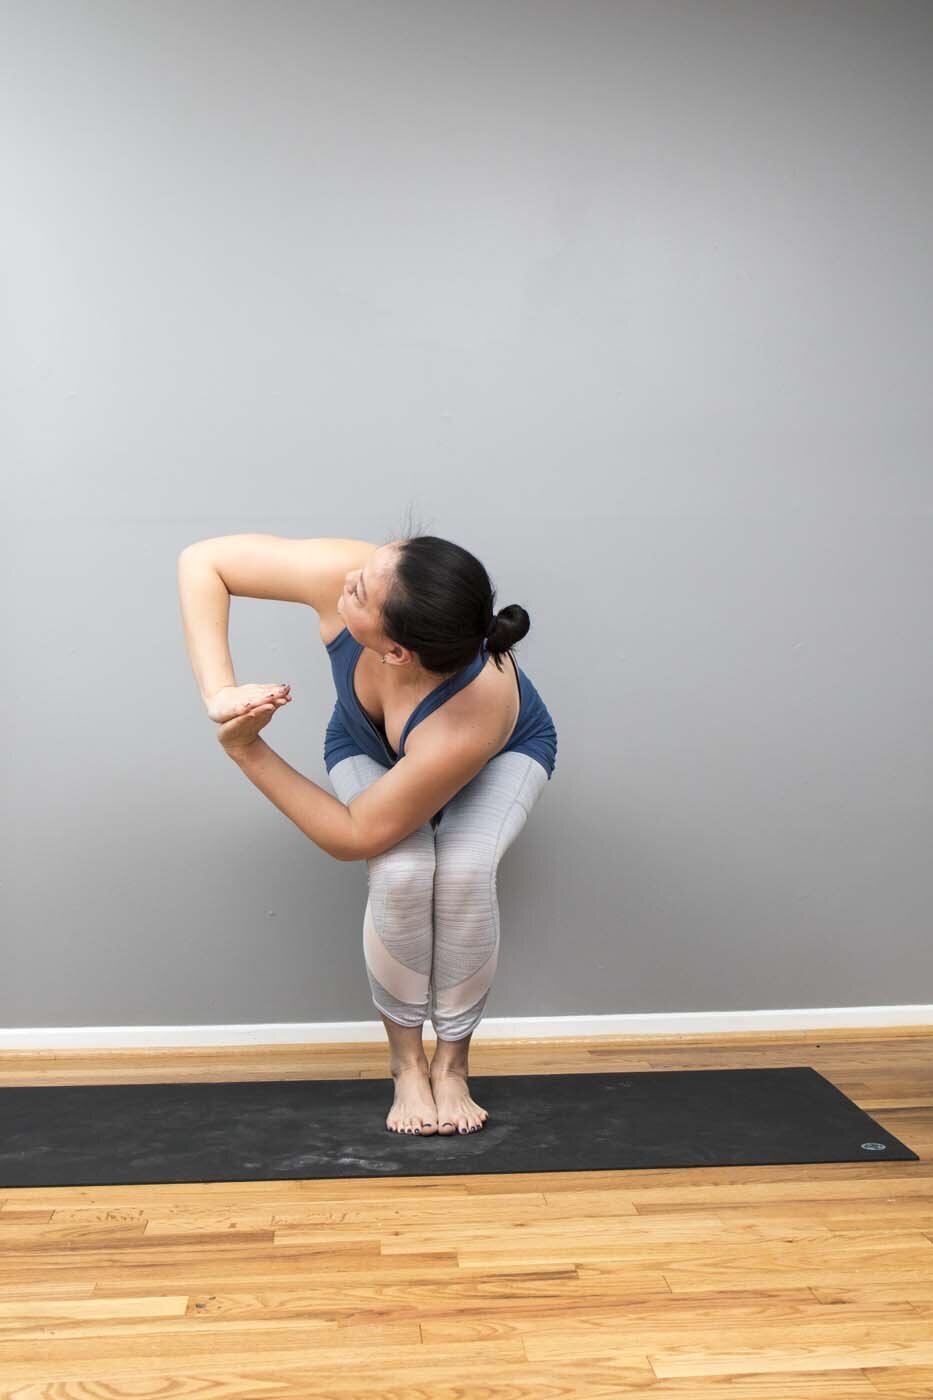 This is where it gets fun! Start to transition by squatting down. Keep your hands at heart center and keep using the strength of the left elbow on the knee to take the twist deeper. Take a moment to set your foundation and take a few deep breaths here.
 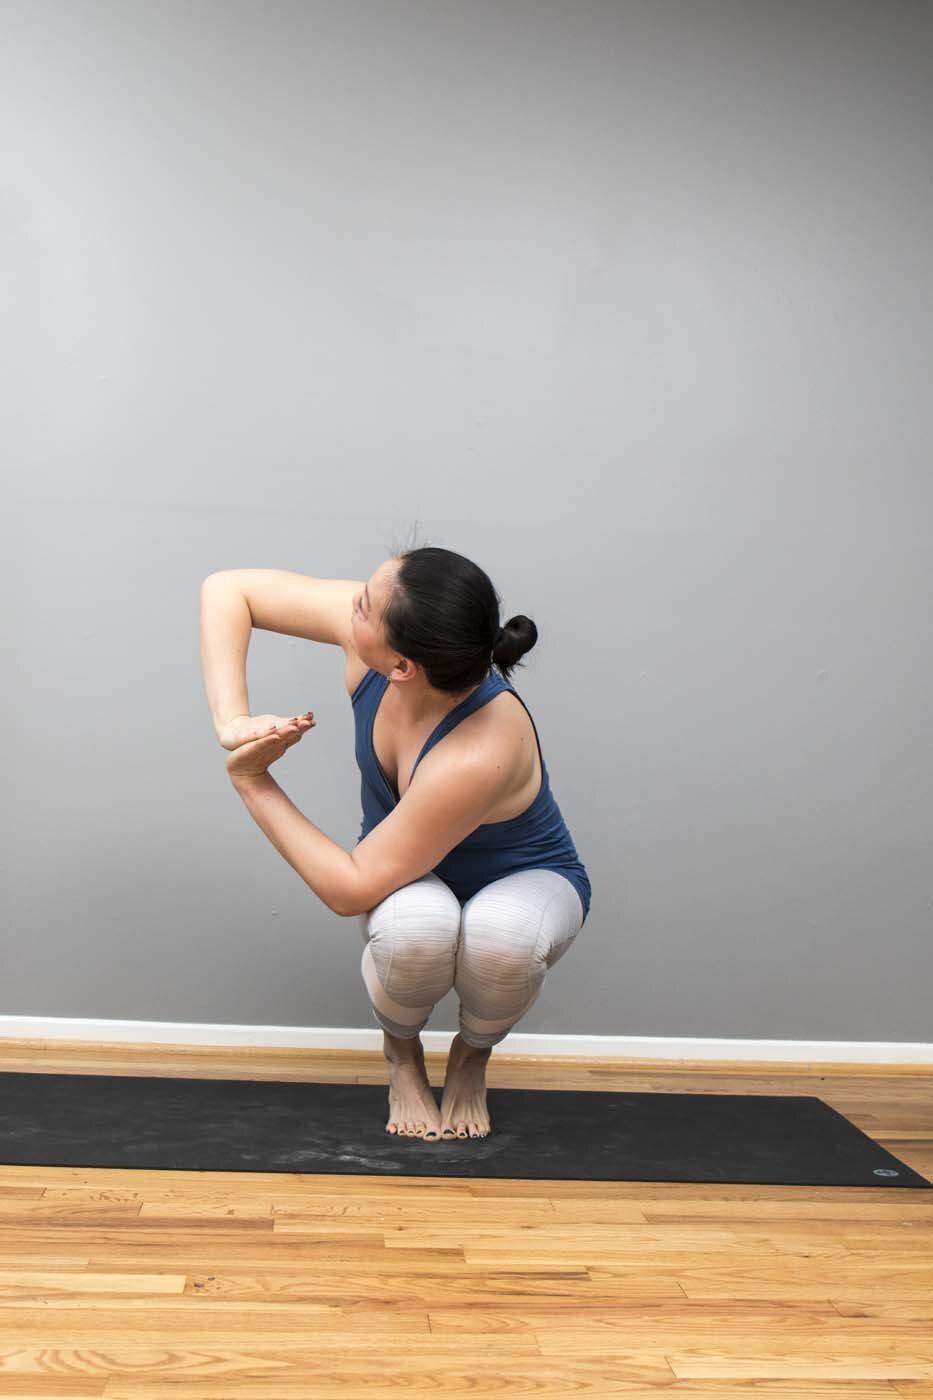 Place your left hand on the outside of the right leg and the right hand shoulder width apart on the other side. This gives you a good base, and then I turn my hands a bit clockwise. Take the right knee and touch your left arm onto it (just like the picture).
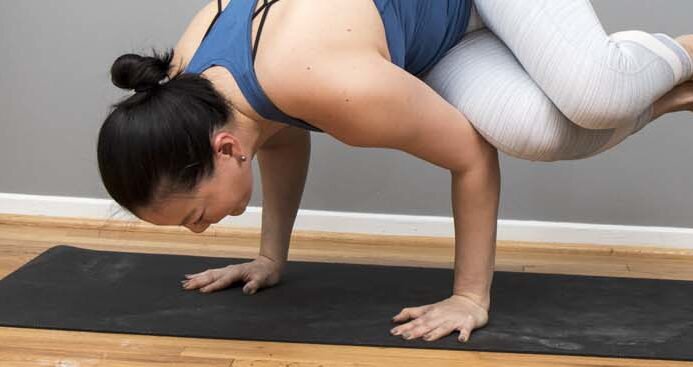
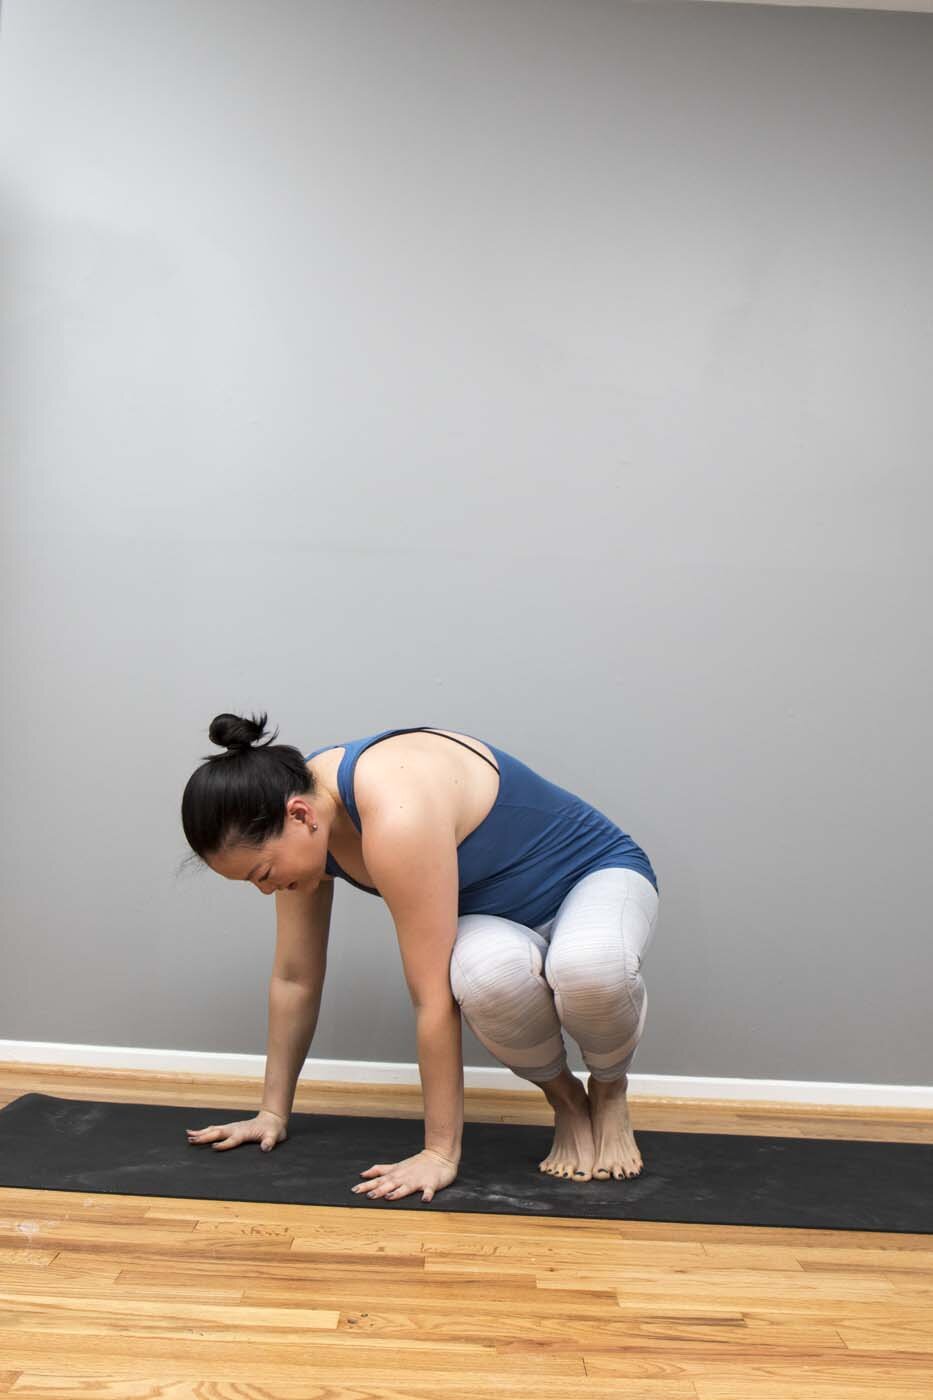 From here, you’ll start to bring your weight into the balls of your feet and shift your weight forward. Your arms will make a 90-degree bend (like Chaturanga). Arms are parallel to the ground and both feet can come off the ground. Squeeze the elbows together and magnetize them towards one another.
 Flex the toes and squeeze the legs together as if they are one unit - think chair pose legs. Most importantly, remember to breathe and have fun! Tips (for side crow and also yoga in general because I can’t help myself):
- Give yourself some time to get acquainted with the posture and do the warm up. We are just doing yoga and making shapes with our bodies - don’t take yourself too seriously!
- Work on twists! There is a really deep twist that you must get in this posture. If you can’t get into the posture, start by adding some twists. Maybe you do open twists until you feel comfortable doing the closed ones.
- Visualize yourself in the posture. Seriously. This one sounds a little hippy dippy, but if you have a horrible attitude and frustration builds up, that’s not a place you want to work from.
- Place blankets, bolsters or pillows around you and under your face. If what’s stopping you is fear of falling on your face, grab some pillows or blankets to help cushion yourself if you do fall.
- Practice! Cultivating a self practice takes work and is something I am so grateful for. When you can’t get to the studio or need a moment of zen (without a teacher), your own movement and breath does wonders. My self practice sometimes involves getting on my mat, rolling around and then trying a few poses I’m working on, and sometimes it’s a full fledged hour-long thing. Just do your own thing!
Thanks for reading, yogis! Hope to see you on the mat soon. And if you happen to get into a side crow, give me a shout on Instagram - @bmthomas09 :)
Take class with Becca: Wednesday at Georgia Ave. – 6:30 am (Hot Flow)Wednesday at Georgia Ave. – 6:30 pm (Power Flow)Thursday at Takoma - 8:15 pm (Power Flow)Upcoming Workshops with Becca:Saturday, June 3 - 12:45 pm at Takoma: Yoga for Desk Dwellers Saturday, June 10 - 1 pm at Takoma: Lift Off! Accessing Arm Balances at All Levels Saturday, June 24 - 1 pm at Georgia Ave.: Foundations of Chaturanga